
Card Making
- CinnamonPinch
- Jun 14, 2018
- 4 min read
One craft I haven't done in awhile is making greeting cards. I have a whole board on Pinterest dedicated to different card designs I want to try someday, but I don't get to it nearly enough. The problem is that I always leave it too late before the occasion! Since I have a nice new card box to fill up, I am going to try to make a few ahead.
I've had some fun making cards in the past. It's so hard to find cards in the store that I really like and also say what I want to say. And now they're so expensive! I've always thought I would love a job as a writer for a greeting card company, and this is the next best thing.

Here's one of the first ones I tried (that I remembered to take a picture of). The top and bottom pattern are pieces of scrapbook paper glued on a blank card that I bought in a pack at Michael's. I have also made cards from a piece of white cardstock, but this pack came with envelopes, so I went with that. I have tried making envelopes before without much success.
The band in the middle is patterned washi tape. The flower I made using my circle punch. I cut circles out of scrapbook paper and then used the punch again to cut each circle into a petal shape. Then I glued them down, overlapping them as I went. The center of the flower is another piece of scrapbook paper that I punched out with a smaller hole punch.
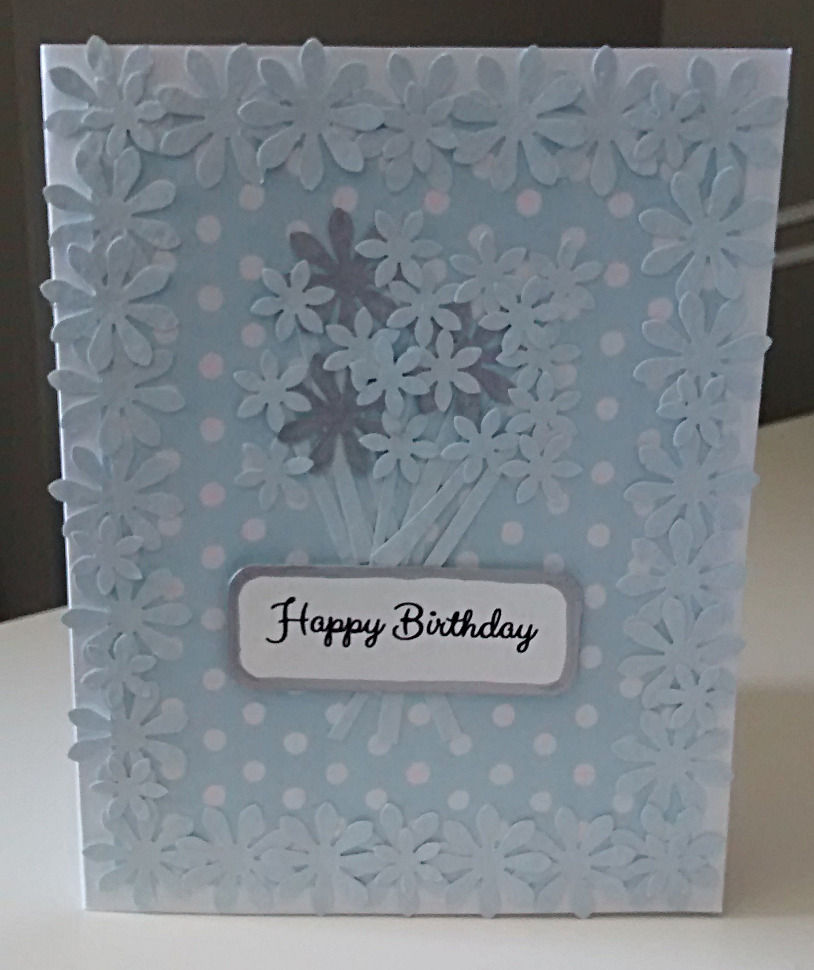
This next card I made with the use of a flower punch. The background is polka dot scrapbook paper. Then I took a piece of blue cardstock and punched out a ton of blue flowers. I used the same piece of cardstock to cut out stems for the bouquet.
To give the bouquet some dimension I coloured in a few flowers with a silver paint pen. I printed out the Happy Birthday on my computer on cardstock and cut it out, using my corner punch to round the corners. I find I'm not great at cutting straight corners, so rounded corners work nicely to make it look more finished. Then I went around the edge of the words with my paint pen as well.
The background paper doesn't go all the way to the edge of the card so that the flowers will be more visible against the white background.

This yellow card was for a 2-year-old's birthday. I used another piece of scrapbook paper cut smaller than the face of the card to give it a border, and used my corner punch on the corners.
I used my circle punch on yellow cardstock to match the background and stamped a party picture on each circle. Then I glued them down with a piece of adhesive foam to give them some dimension.
I also cut out the Happy Birthday from the same cardstock and used a stamp to write the message. My corner punch rounded the corners to make it match the background.
I've seen some cards where the stamped pictures are coloured in with pencil crayon, but I decided to leave this one simple.

For this purple card I went back to my original design and put coordinating scrapbook paper on top and bottom, covering the join with a piece of patterned washi tape. The nice thing about washi tape is that since it's actually tape you don't need glue, you just stick it down.
To get the Happy Birthday, this time I used my label maker to print out the message on clear label tape. I didn't trim down the length of tape, but instead let it run from the edge and then under the flower. That made it look like the message was on the washi tape with a clear cover, which I liked.
The flower is a chipboard flower I got in a pack at the dollar store. There are so many interesting elements you can get at the dollar store now. I especially love buying stick on gems and clear foil stickers to add to cards.

This card is a little different because the base card actually came with an embossed boarder around the edge of it. I haven't tried to emboss anything myself yet, but I do like the style. I put the dragonfly scrapbook paper inside the embossing so that you can still see it.
The number 1 I cut freehand from a thick piece of pink scrapbook paper. The dragonflies were cut with a punch from the same paper to match. I also like putting things on the back of the card where the barcode would generally be, and for this one I glued on another dragonfly.
I guess years of buying cards makes me expect something on the back, so I always either put a stamp that matches the theme, or something similar.

This card was for a little girl, so I really wanted to use a Hello Kitty sticker that I had. Again, overlapped scrapbook paper is the background, though this time the join is lower on the page. The three metallic flowers cover the edge.
The Happy Birthday I printed out on cardstock, and this time I used the circle punch on the corners to give it a slight indent. It's framed with another piece of scrapbook paper that is the same as the top of the card.
The only problem with using this kind of flower embellishment is that it makes it tricky to fit it in the envelope. It puffs out a bit, and doesn't look as tidy. I wish now I had done something to frame the sticker, but I think I ran out of time finishing it up.
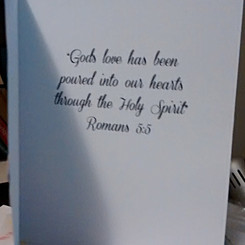
When I am on the ball I also try to print out a message for the inside. I print these on regular printer paper as it gives it a little more transparency, like they do in a bought card sometimes. I glue this on and write a message below it. I like to use script-like fonts in the inside of the card as well, just to make them more fancy. Here are a few examples of the insides of the cards above.


I've made many more cards than this but these are the only ones I have pictures of so far. I guess I need to get better at taking pictures as I go.


Comments